Prefabs Tab
Contents
Overview
The prefabs in Qrucible are designed to help you not only save time, but achieve a better sense of consistency in your mapping work.
Prefabs, at their heart, are blobs of .MAP file chunks. With a few sprinkles of magic that we'll talk about soon.
When you install Qrucible, it comes with a few prefabs to get you started. You can see them in the dropdown control with the text file logo in it.
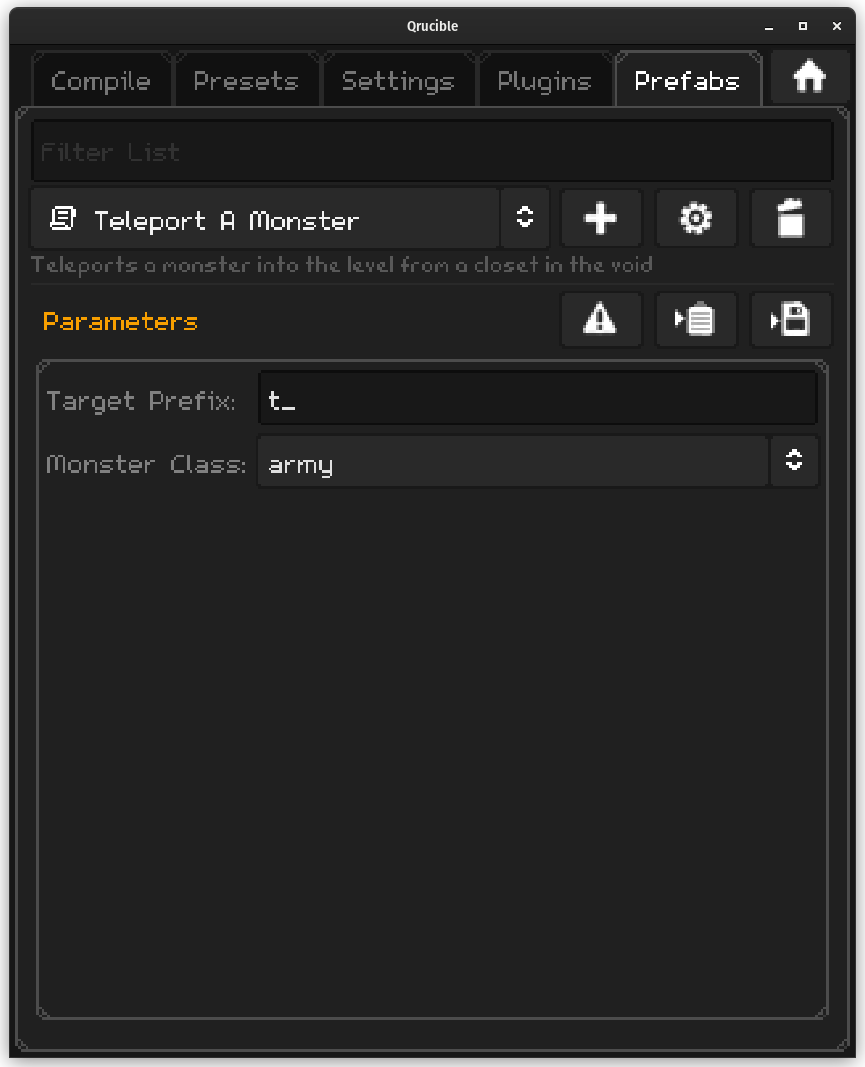
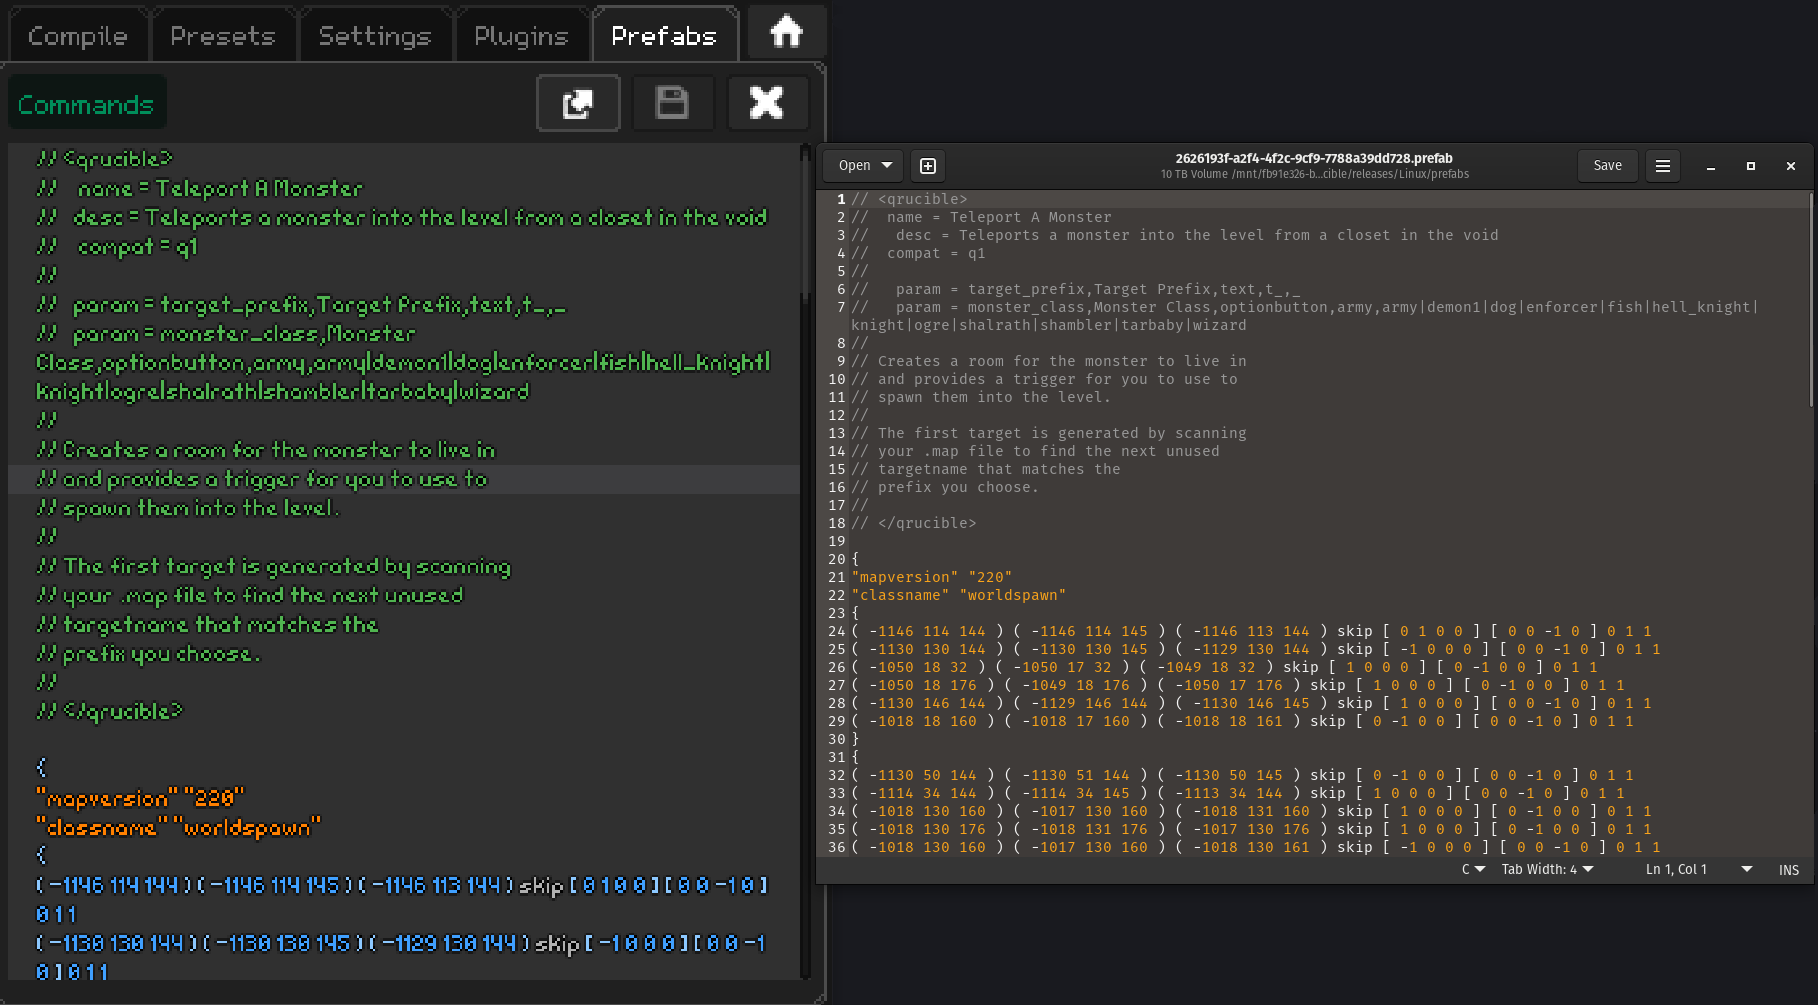
This UI is your primary interface to using prefabs so let's run through it.

Filter List is a handy way to reduce the number of prefabs appearing in the dropdown.

The dropdown control here allows you to select the prefab you want to work with. The buttons to the side are:
- Add New - Lets you create or import a new prefab
- Edit - Lets you modify the selected prefab
- Delete - Lets you delete the selected prefab
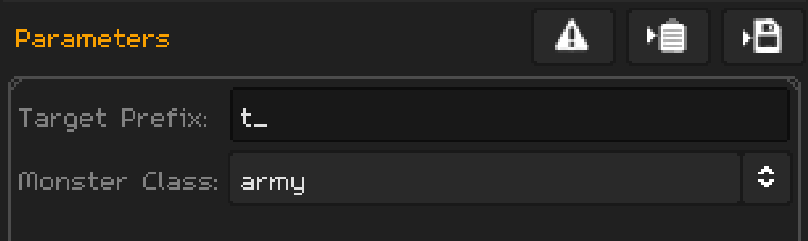
This section varies per prefab. If the prefab doesn't have any parameters, it'll be empty. If it has dozens, you'll see them all stacked up.
The buttons here are as follows:
- Reset - Resets all parameters to default values
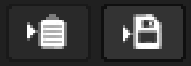
- To Clipboard - Processes the prefab and puts the results on the clipboard
- To Disk - Processes the prefab and writes the results into a file of your choosing
Qrucible will remember the last settings you used for each prefab so you won't need to set them up each time you start it up.
Using Prefabs
So how do you use these things as a mapper?
- Select the Prefab that you want to use from the dropdown control.
- If it has any parameters that you want to customize, do that.
- Click either the "To Clipboard" or "To Disk" buttons to capture the results.
If you copy to clipboard and you're using Trenchbroom, for example, you can alt-tab over to that window and paste the results directly in. For other editors that don't support that, you can write to a file and then import that file into your level editor of choice.
Creating New Prefabs
If you want to create a new prefab, it's pretty straightforward.
In the map editor of your choice, either copy the entities you want to be in the prefab to the clipboard OR export them into a .MAP file that you can get to in a minute.
Then press the Add New button.

This will take you into a window that was made for programmers but you won't have to be in here long, I promise.
The fastest way to get your prefab created is to click in the code window below the header area, and paste from the clipboard.
But if you have your entities exported to .MAP files...
Click the Commands button near the top left and choose Import From MAP File.
This will open a file dialog window. Find the .map file that you want to use and open it. This will replace the text in the bottom code window with whatever was in the file.
Click the Save button - it should turn grey.

Then click the Close Window button and you're done!

The imported prefab will now appear in the dropdown control and it should be automatically selected for you.
Editing Prefabs
Adding and editing prefabs work pretty much the same so the info below applies to both.
The only difference is how you get into each mode:
Clicking the Add New button will start a new prefab.
Clicking the Edit button will edit the currently selected prefab.
I know that probably seems obvious but it's worth saying it out loud.
Prefab Tour
Looking at the prefab tab for a moment you'll notice a few things.
The dropdown control shows the name of the prefab and below that, a short description:

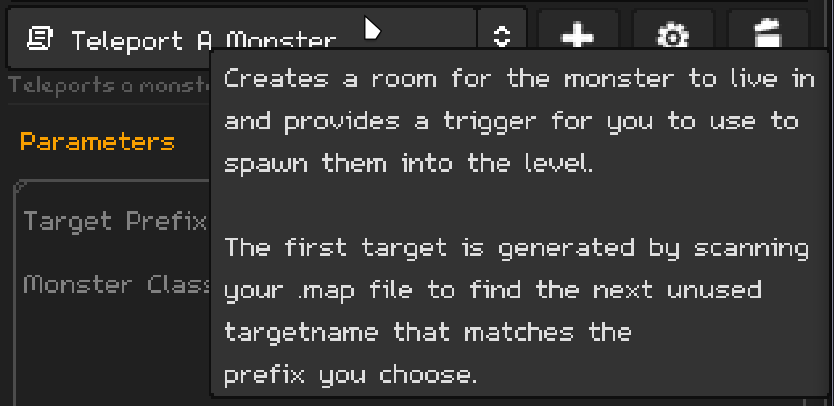
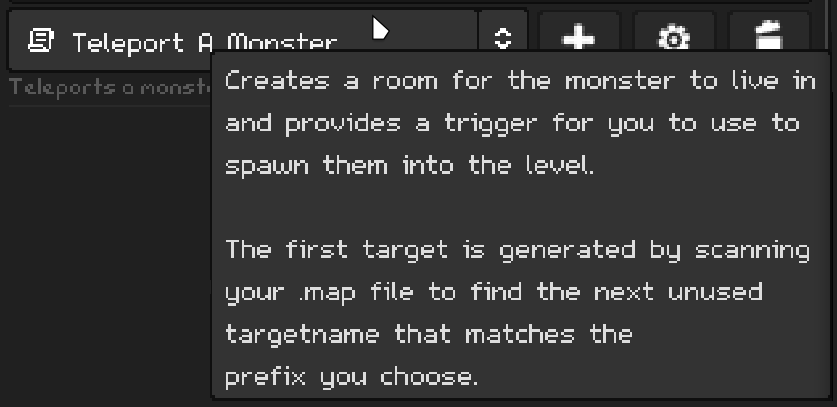
If you hover over that prefab name you'll get a tooltip:
And down below, you'll see a parameter window that currently has parameters in it:

Keep these things in mind as we delve deeper into what makes a prefab work.
The Edit Window
This is the built-in editor that you can use to add new prefabs or edit existing ones.
Controls
Commands Menu

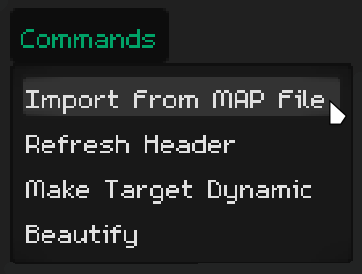
The Commands button will drop down a menu with a few options on it.
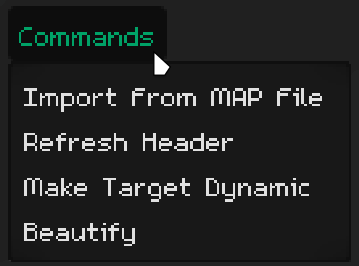
Import From MAP File will replace the contents of the code window with the contents of that file. This is useful for starting from one of your existing prefabs or if you use a template file or what-not.
Refresh Header looks at the Qrucible header at the top of the file and fills in any missing pieces that are important. This is explained in more detail below.
Make Target Dynamic is where some of the magic lies. This will be explained in the magic section below.
Beautify reformats the file so it looks nice and rounds off any numbers that are using scientific notation and such. For those who enjoy such things.
Toolbar Buttons
Left to right:
Open In External Editor
This allows you to use the text editor of your choice. It will open the prefab using the operating systems shell. Any changes made to the file in that external editor will be automatically reflected back into Qrucible.
So if you don't like the pixel font or find the build-in editor limited (hint : it is), this is a great option for editing more complicated prefabs.
Save Changes
Saves any change to the open prefab file. The button will be greyed out if the file hasn't changed from what is stored on disk.
Close Window
Closes the window.
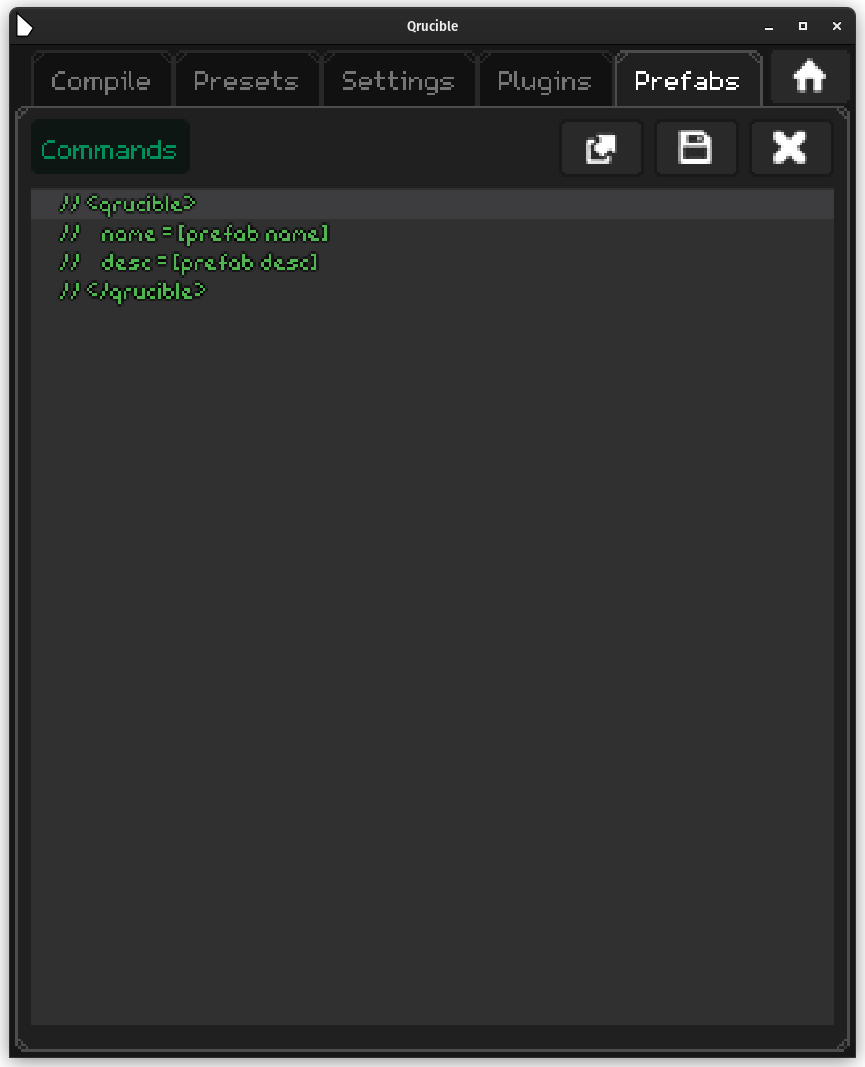
Adding A New Prefab
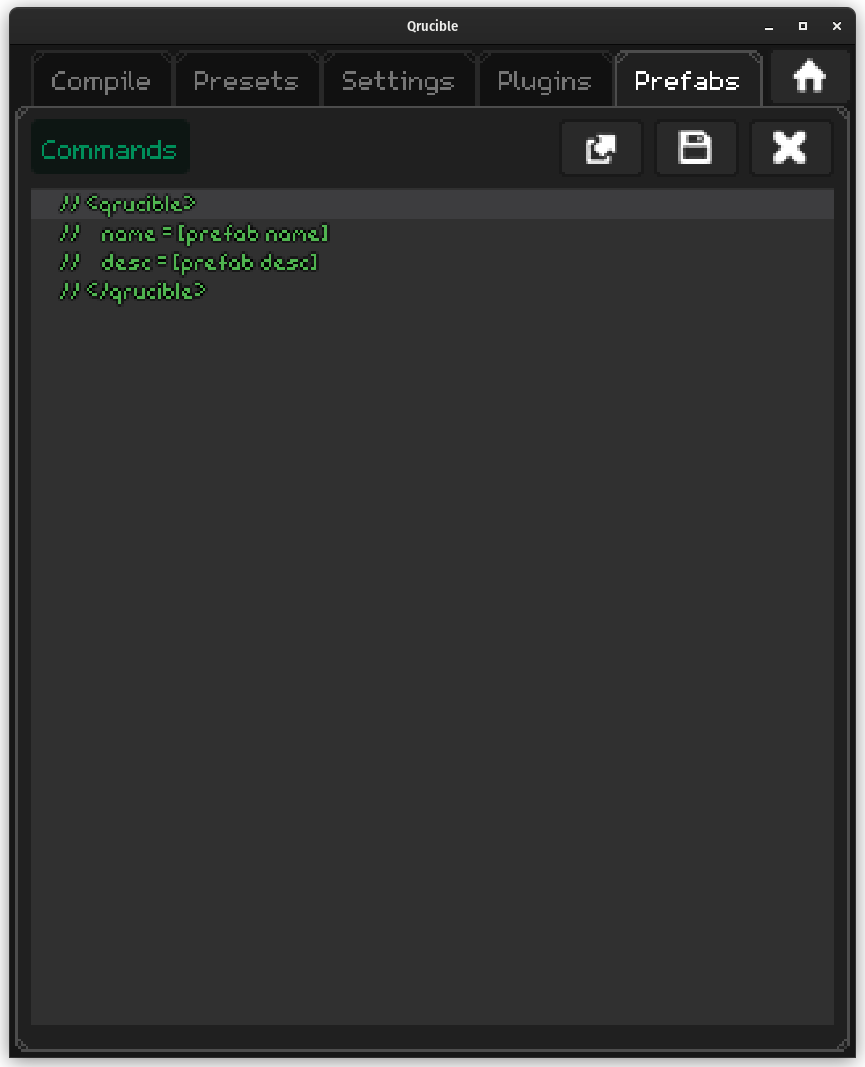
When you add a new Prefab, Qrucible gives you a template to start from.
It ain't much but it's enough to get you going.
This needs to be inside the prefab file so Qrucible can know how to deal with it and present the parameters (if any) to you.
The Qrucible Header
This section of the file is your primary way of informing and interacting with the mapper looking to use your prefab.
Overview
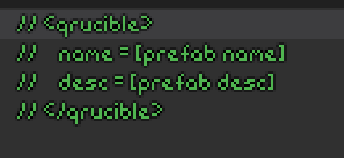
So from the template file, you see:

This is the minimal (well, almost, you don't need anything in the header really but this is the minimum that feels good) header section. You fill in the name you want to see appear in the UI and a short description to display.
The truly minimal header looks like this:
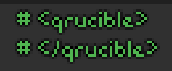
I would never advise using this as your header but the important note here is the first and last lines are distinctive tags. These allow Qrucible to find the header in your Python file and for it not to cause Python errors by hiding it in comments.
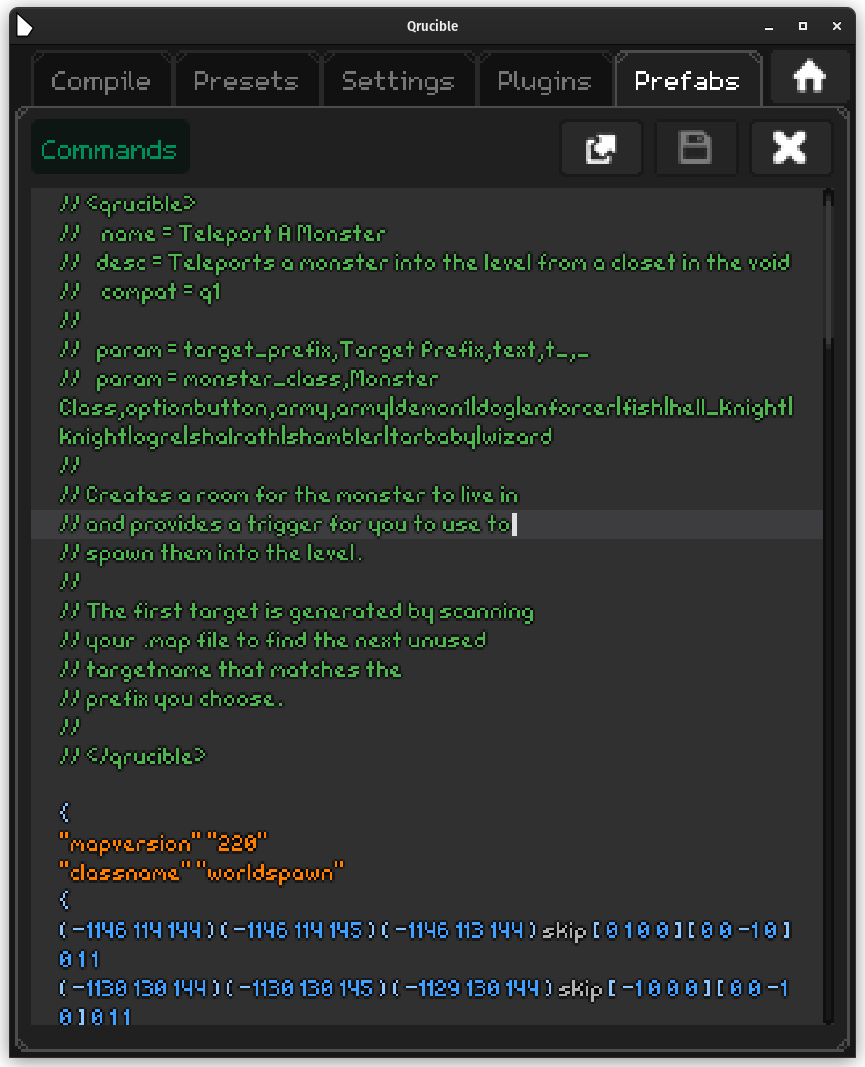
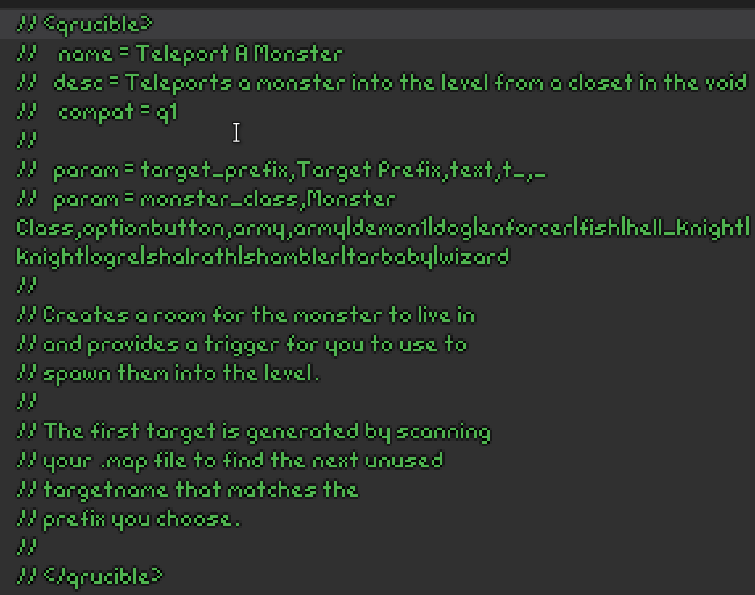
Headers can be much more involved however. Here's the header from the Teleport A Monster prefab:
Key/Values
Below is a list of key/values that the header will recognize and use:
name=
A short name that will appear in the dropdown control on the main Prefab tab.
desc=
A longer description to appear below the name in the UI.
compat=
Sometimes you need to be able to limit certain prefabs to certain games. Leaving this value blank or not including it all means this prefab will work in all 3 games. If you include "q1", "q2" or "q3" somewhere in the value, it will only show up for those specific games. So if you create a prefab that only works with Quake1 and Quake3, the line would read compat = q1 q3
param=
This is the most complicated part of a header but it's one of the most powerful. It allows you to accept input from the mapper and use it when the prefab is processed.
How Params Work
Param lines are formatted as follows:
param=[VariableName],[Name],[Type],[DefaultValue],[Data/Constraints]
[Data/Constraints] has a special meaning depending on the [Type], so pay attention below!
[VariableName]
The name you want to refer to this parameter as inside of the prefab.
[Name]
The name you want the mapper to see in the UI.
[Type]
The type of control required to accept this parameter from the mapper. Valid values are:
number
A numeric value. [Data/Constraints] represents the range of allowed values formatted as "min|max"

text
A text value. [Data/Constraints] represents the max length of the accepted value. If you don't care, place an underscore there instead.

checkbox
A boolean value. [Data/Constraints] is unused here, so just use an underscore.

optionbutton
Choosing from a list. [Data/Constraints] holds the set of accepted values as text strings. For example, if you wanted to list all the base Quake1 monsters as an option, you would use this string: army|dog|enforcer

[DefaultValue]
The value that serves as the default for this parameter. If the mapper doesn't have any value cached from the previous time they used this prefab, this value will be autofilled for them. If they use the Reset To Defaults button, this is the value that will be placed in the control for them.
[Data/Constraints]
This is the hardest one to understand because it's contents vary depending on what you choose for Type.
But basically, this holds either data that the UI needs or it holds constraint information like numeric min/max values or max length for text fields.
Using Mapper Params In Your Prefab
So once prefab starts running, how do you get access to those mapper provided parameters?
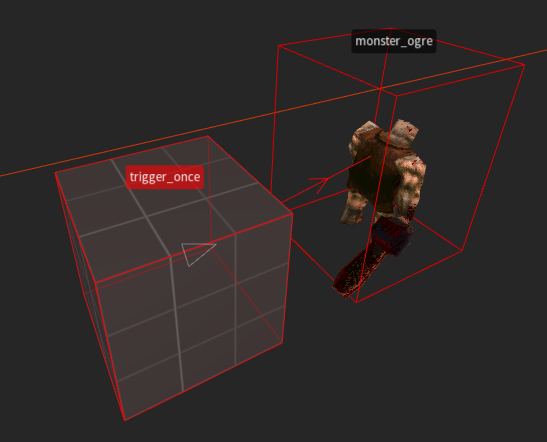
An easy example is in the Teleport A Monster prefab. It uses the monster_class parameter to fill in the entity classname here:
{
"classname" "monster_$monster_class"
"origin" "-1082 82 88"
"targetname" "$1"
}
If you refer back to the Qrucible header, there's a line that reads:
// param = monster_class,Monster Class,optionbutton,army,army|demon1|dog|enforcer|fish|hell_knight|knight|ogre|shalrath|shambler|tarbaby|wizard
This tells Qrucible that you need the mapper to select a monster class before the prefab can do it's work.
Let's say the mapper choose "shambler" from the parameters list. When this prefab is processed, "monster_$monster_class" will get replaced with "monster_shambler". See how that works?
It's this system of dynamic parameter replacement that allows you to create prefabs that are truly flexible and not just a copy/paste operation.
ToolTip
Any other text that you include inside the Qrucible header will be gathered up and used as the tooltip for the mapper on the Prefab tab.
So if you have this in your header:
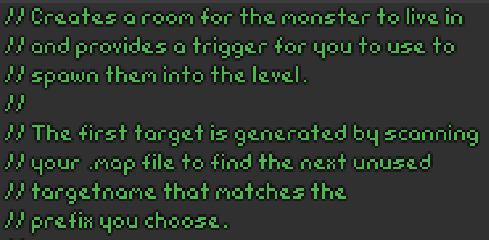
The mapper will see this as the tooltip in the UI:
The Magic
Prefabs can be as simple as copying a reusable piece of geometry or an entity set up to the clipboard for you to use but they can be SO much more than that.
Parameters
The first bit comes with the use of parameters, which were discussed above. Parameters allow you to customize what the final text will look like before it gets exported to your level editor.
Dynamic Target Names
This is the other half of the magic. Let's take a look inside the Teleport A Monster prefab to see these in action.
{
"classname" "trigger_teleport"
"target" "$0"
"targetname" "$1"
{
This follows the same formatting as using parameters does but with a twist. Whenever Qrucible sees text that starts with a $ and is followed by a number, it will replace that with a new target name that it generates based on what is currently in use in your MAP file right now.
By default, it uses a t_ prefix but if you include a parameter called $target_prefix in your header, you can allow customization of this prefix. Like so:

Now the number that follows the $ is important. It tells Qrucible an offset value to use from the unique target name that it's going to start from.
So $0 is the generated target name. $1 is the generated target name, plus 1. And so on.
In the case of our example:
"classname" "trigger_teleport"
"target" "$0"
"targetname" "$1"
When this gets processed, Qrucible will look for a unique target name it can use. Let's pretend this is a map with some content in it already and the generated target name ends up being t_15.
Before exporting the prefab, Qrucible will replace all instances of $0 with t_15, all instances of $1 with t_16, and so on.
It is through this mechanism that you can turn fairly complex brush work and entity set ups into reusable prefabs.
A Complicated Example
So let's walk through an example and see how Qrucible can help you out with this process.
Let's say I've set up a trigger that will aggro and ogre when touched:
I've set this up with a target/targetname of my own choosing and this works great. But now I decide I might use this a lot so maybe I'll make it a prefab.
Since I'm using Trenchbroom, I select the both of them and copy them to the clipboard.
Back in Qrucible, I add a new prefab and I have a screen that looks like this:
I customize the header:
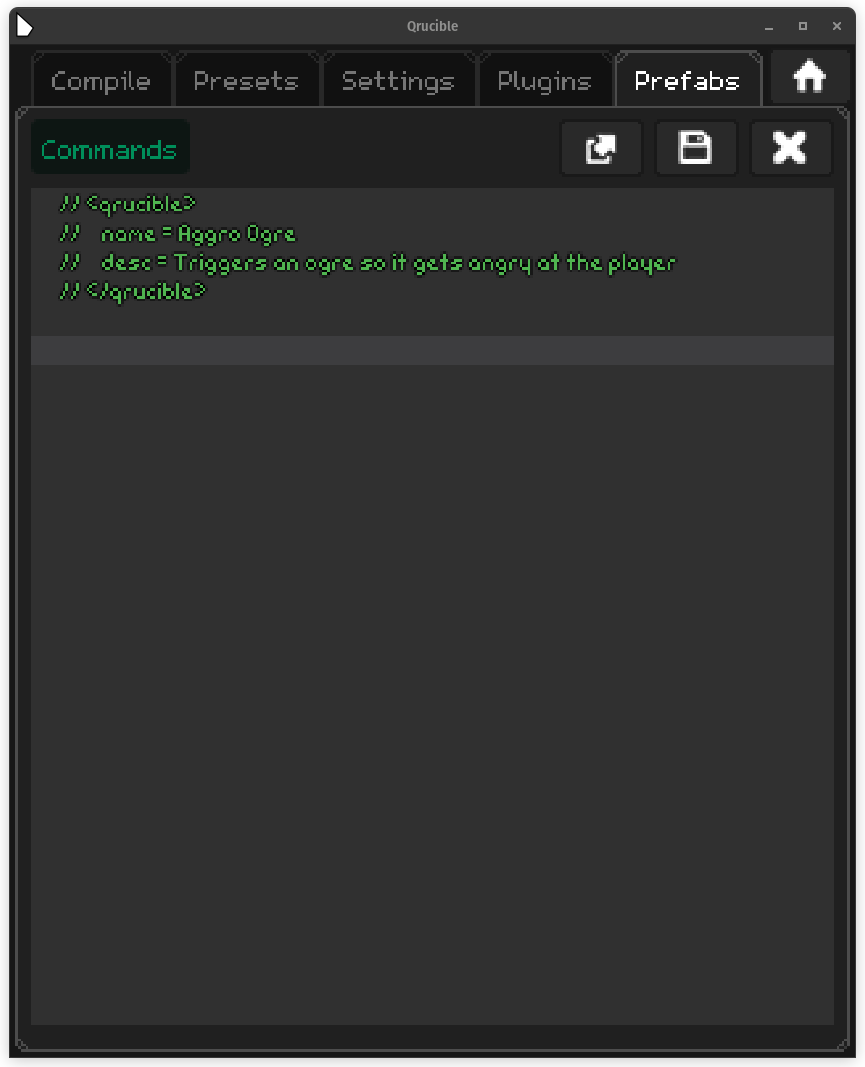
Now I place the cursor just below the header and I paste in my MAP text (or you can import it from the Commands menu instead):
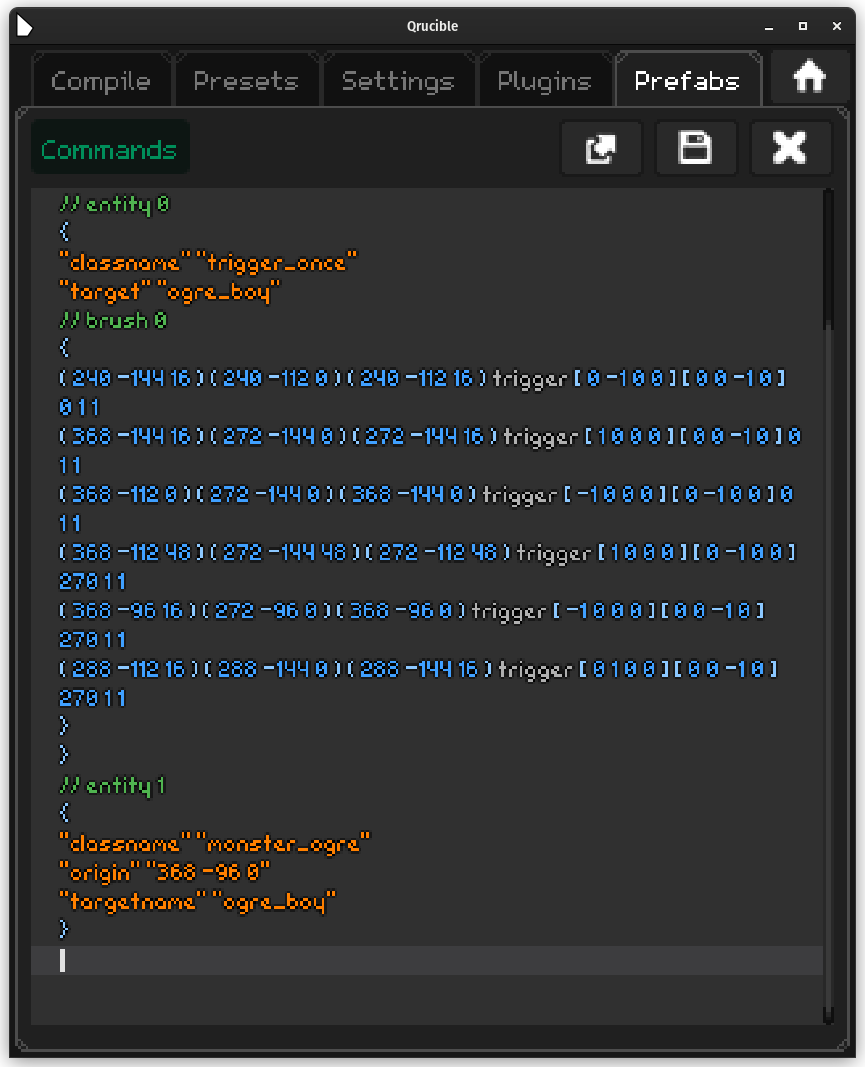
You can see my target name of choice in there : ogre_boy . But that's not going to be reusable unless I make a fresh map. To set it up be flexible, I would need to replace both occurrences of ogre_boy with $0.
An easier way to do that would be to select the target name and use the Commands menu to click the Make Target Dynamic option. This will automatically replace all instances of the text in question with the dynamic version. Like so:

So that's done! If I hit save and go back to the Prefab tab, I'll see this waiting for me:

If I want to add a bunch of these now, I can use the export buttons and paste/import them to my heart's content.
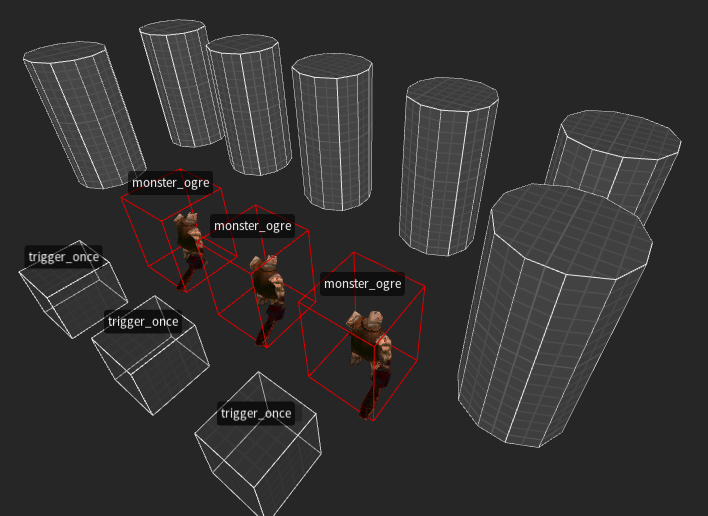
I've pasted 3 of them into my level. Notice how they are all using unique target/targetnames:
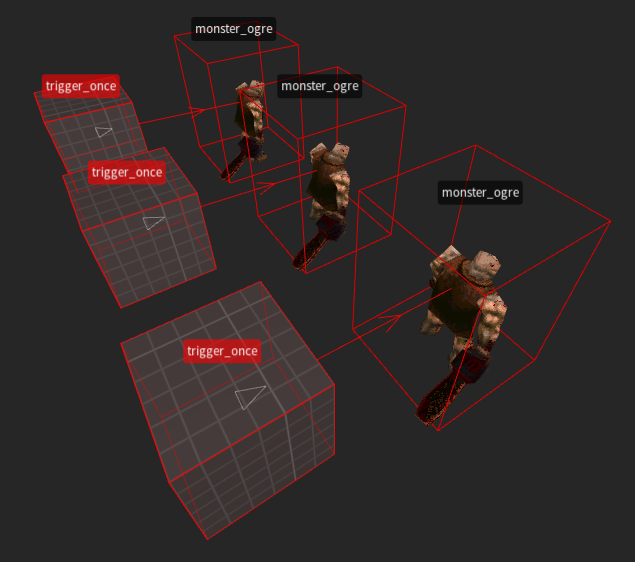
The one gotcha here is that you HAVE to save your level each time you paste one of these in so Qrucible will see the updated MAP file the next time you click the export buttons.
That's just physics and I haven't found a way around that yet!
And yes, each time you want one of these, you need to press the To Clipboard or To Disk buttons again. That allows Qrucible to generate a new copy of the prefab with updated target names in it.
A Simple Example
;OK, let's say I have some brushwork that want to save like a Scalable 12-Sided Cylinder. That's just a brush and doesn't require any parameters so once I set up the basics, I'm done.
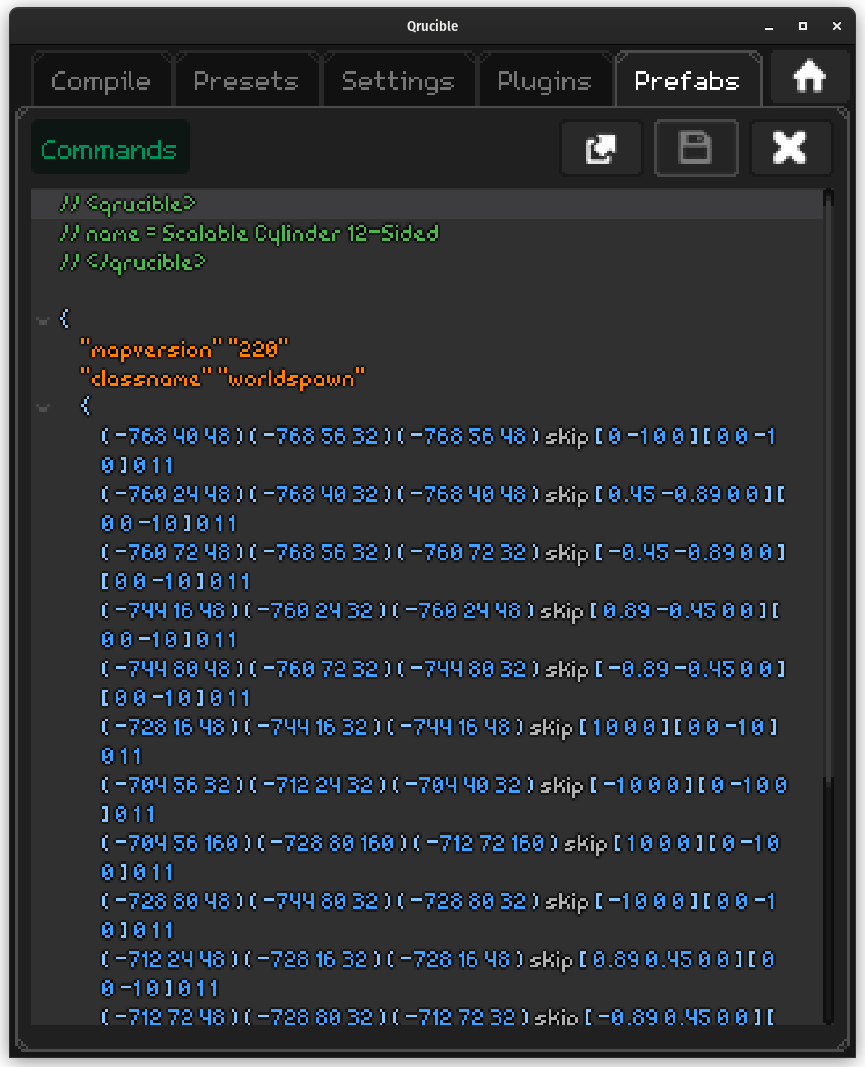
This sort of prefab that doesn't take any parameters can be fired off and copied at will with no concern over what state the source file is in. Go wild!
This is a single brush but you can have any combination of brushes and entities that you like. From complex doorway sets up to basic crates that you like. The sky is the limit!