Plugins Tab
Overview
The plugins in Qrucible are here to save you time and hassle as you build your level.
Plugins are in the business of creating geometry and entities (and other things) from thin air.
This doc will be broken up into 2 sections - one for mappers which will explain how to use plugins, and one for developers which will explain how to create plugins and how they work.
Important : Python Runtime
In order for Plugins to work, your computer must have a Python runtime installed. If you're getting errors trying to run plugins, go this web site and install an appropriate runtime. Whatever the most current version is should be fine.

For Mappers
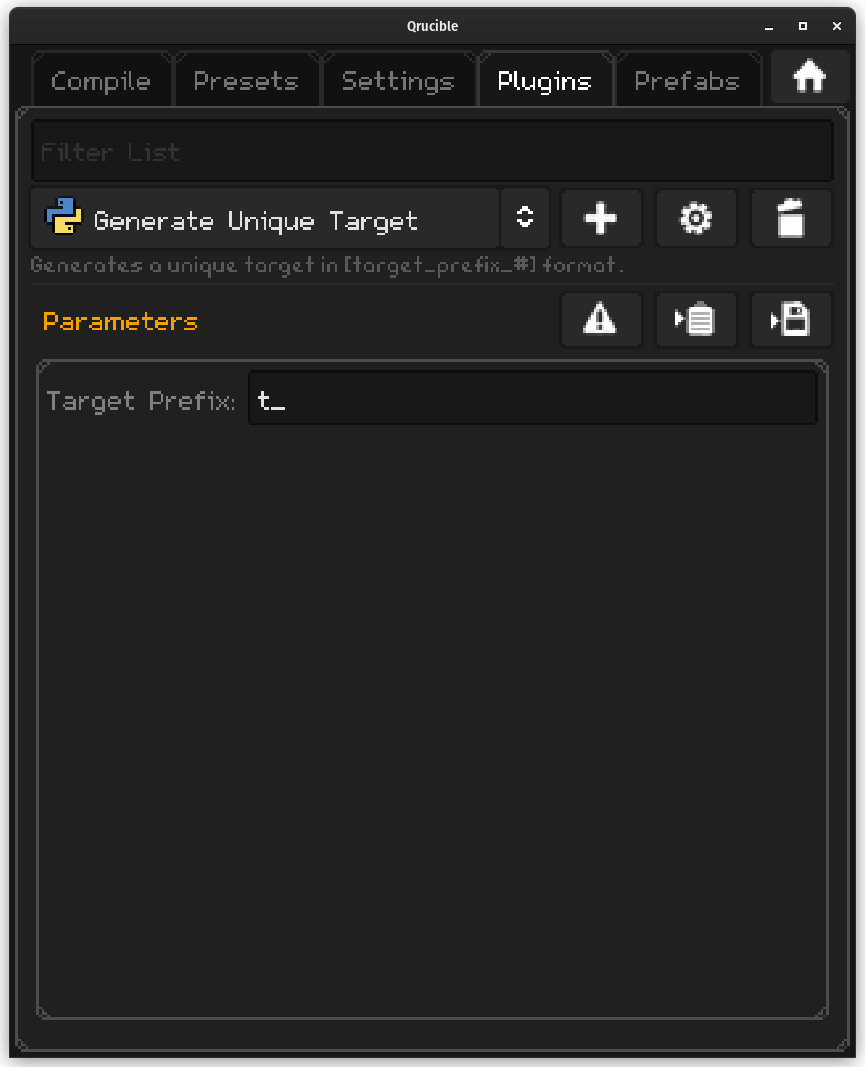
When you install Qrucible, it comes with a few plugins to get you started. You can see them in the dropdown control with the python logo in it.
This UI is your primary interface to using plugins so let's run through it.

Filter List is a handy way to reduce the number of plugins appearing in the dropdown.

The dropdown control here allows you to select the plugin you want to work with. The buttons to the side are:
- Add New - Lets you create or import a new plugin
- Edit - Lets you modify the selected plugin
- Delete - Lets you delete the selected plugin
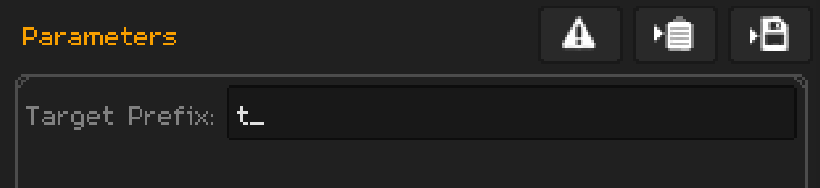
This section varies per plugin. If the plugin doesn't have any parameters, it'll be empty. If it has dozens, you'll see them all stacked up.
The buttons here are as follows:
- Reset - Resets all parameters to default values
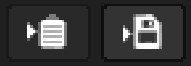
- To Clipboard - Runs the plugin and puts the results on the clipboard
- To Disk - Runs the plugin and writes the results into a file of your choosing
Qrucible will remember the last settings you used for each plugin so you won't need to set them up each time you start it up.
Sample Workflow
So how do you use these things as a mapper?
- Select the Plugin that you want to use from the dropdown control.
- If it has any parameters that you want to customize, do that.
- Click either the "To Clipboard" or "To Disk" buttons to capture the results.
If you copy to clipboard and you're using Trenchbroom, for example, you can alt-tab over to that window and paste the results directly in. For other editors that don't support that, you can write to a file and then import that file into your level editor of choice.
Importing New Plugins
If you get a new plugin from somewhere and want to install it, it's pretty straightforward.
Press the Add New button.

This will take you into a window that was made for programmers but you won't have to be in here long, I promise.
Click the Commands button near the top left and choose Import From Python File.

This will open a file dialog window. Find the .py file that you downloaded and open it. This will replace the text in the bottom code window with whatever was in the file.
Click the Save button - it should turn grey.

Then click the Close Window button and you're done!

The imported plugin will now appear in the dropdown control and it should be automatically selected for you.
For Programmers
Adding and editing plugins work pretty much the same so the info below applies to both.
The only difference is how you get into each mode:
Clicking the Add New button will start a new plugin.
Clicking the Edit button will edit the currently selected plugin.
I know that probably seems obvious but it's worth saying it out loud.
Plugins Tour
Looking at the plugin tab for a moment you'll notice a few things.
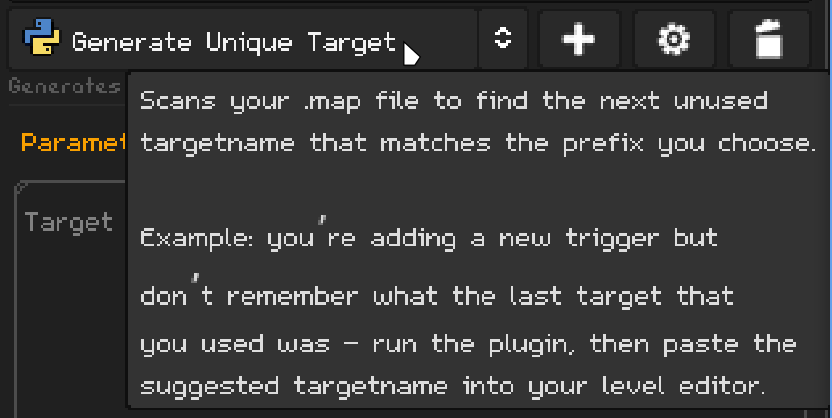
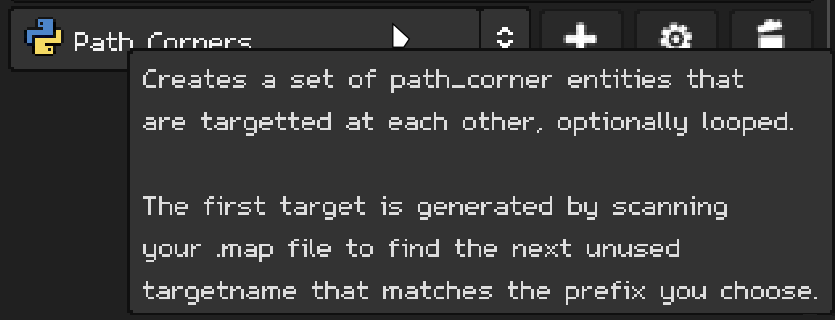
The dropdown control shows the name of the plugin and below that, a short description:

If you hover over that plugin name you'll get a tooltip:
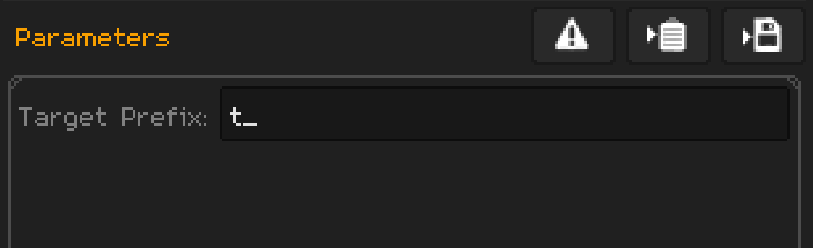
And down below, you'll see a parameter window that currently has 1 parameter in it:
Keep these things in mind as we delve deeper into what makes a plugin work.
The Edit Window
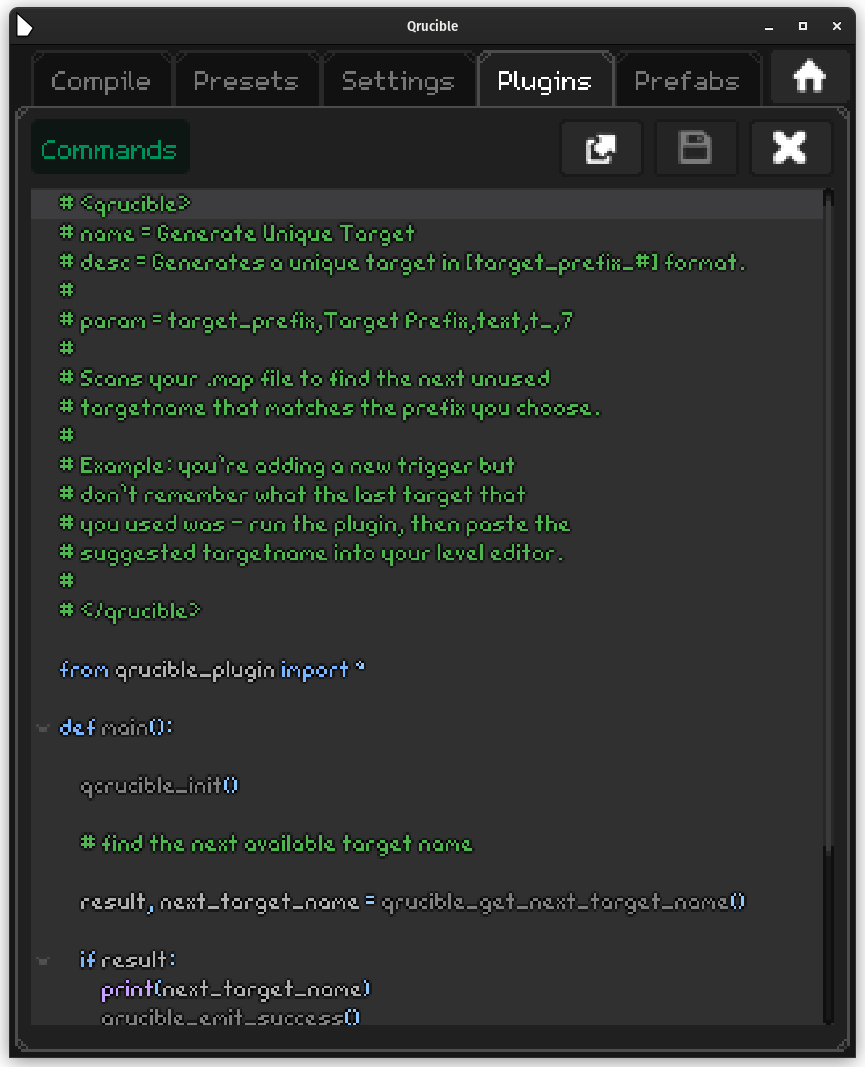
This is the built-in editor that you can use to write new plugins or edit existing ones.
Controls
Commands Menu

The Commands button will drop down a menu with a few options on it.
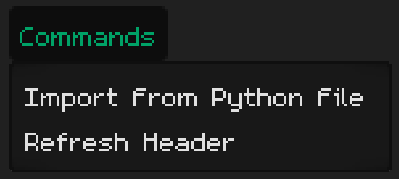
Import From Python File will replace the contents of the code window with the contents of that file. This is useful for starting from one of your existing plugins or if you use a template file or what-not.
Refresh Header looks at the Qrucible header at the top of the file and fills in any missing pieces that are important. This is explained in more detail below.
Toolbar Buttons

Left to right:
Open In External Editor
This allows you to use the Python editor of your choice. It will open the file using the operating systems shell. Any changes made to the file in that external editor will be automatically reflected back into Qrucible.
So if you don't like the pixel font or find the build-in editor limited (hint : it is), this is a great option for writing more complicated plugins.
Save Changes
Saves any change to the open plugin script. The button will be greyed out if the file hasn't changed from what is stored on disk.
Close Window
Closes the window. I know.
Adding A New Plugin
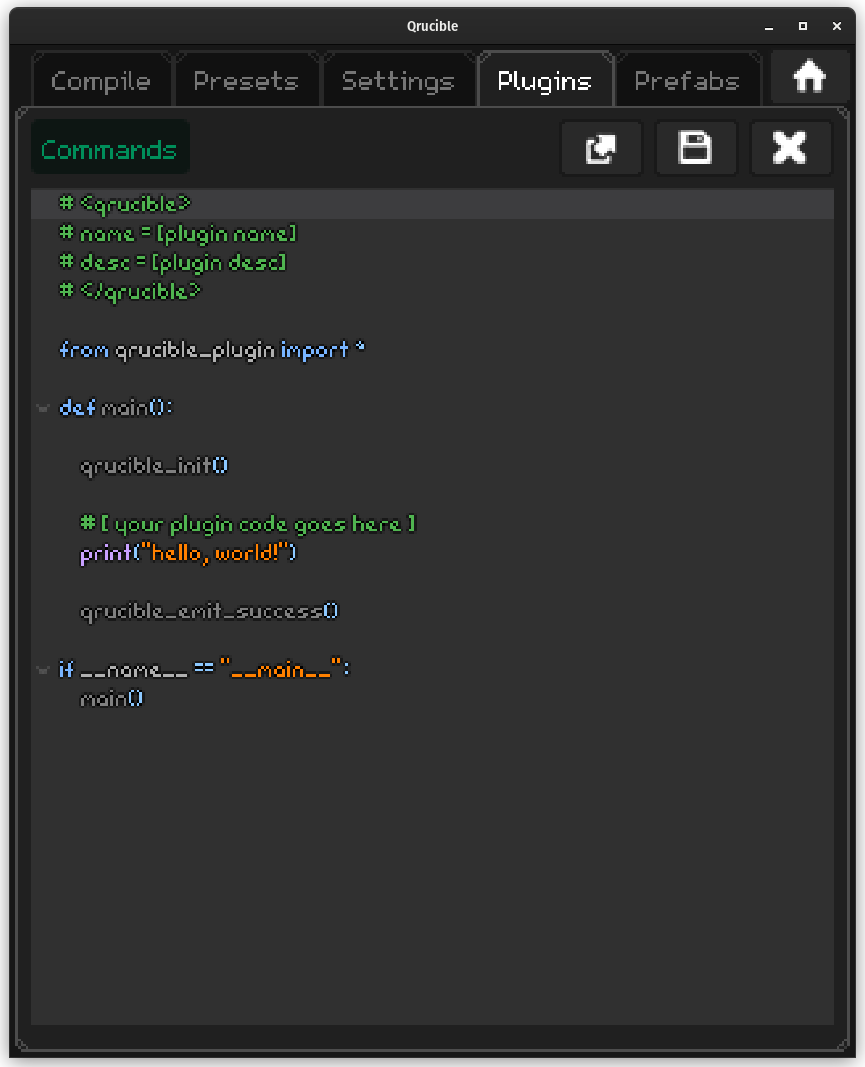
When you add a new Plugin, Qrucible gives you a template to start from.
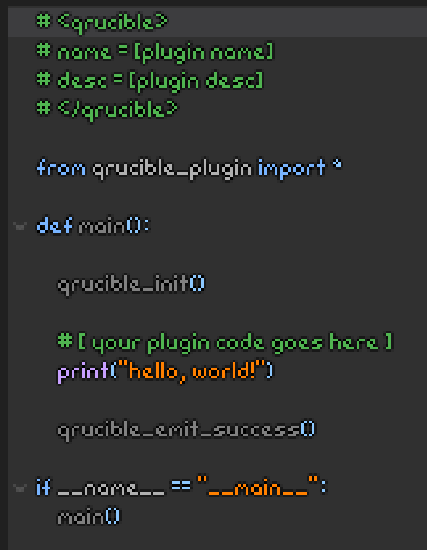
This is the minimal structure that Qrucible needs to run the plugin successfully. As long as the structure above is in place, you can do whatever else you want with your Python code.
The header comes first. That describes the plugin to Qrucible so it can display info about it to the mapper in the UI.
After some start-up boiler plate, you'll see the comment:
# [your plugin code goes here]
That's where you can start coding!
Plugin Output To Qrucible
When plugins execute, anything they write to stdout is captured and serves as the results being sent back to Qrucible. This is accomplished easily by using the print() function.
In the template, you can see the print( "hello, world!") line. If you left this code as is and saved your plugin, when you ran it, it would produce the text "hello, world!" either on the clipboard or written into a file, depending on how you ran the plugin.
This is finalized by calling qrucible_emit_success() in the plugin. That tells Qrucible that everything went great and the results are waiting in stdout.
If things do NOT go well, you can print whatever error you want to stdout and call qrucible_emit_failure() instead. This tells Qrucible that the plugin failed to run for the reason you specified, and the mapper will be informed.
qrucible_plugin.py
You'll see a file in your plugins folder called qrucible_plugin.py. All plugins use this file and deleting it would be very bad. Don't do that.
The Qrucible Header
This section of the file is your primary way of informing and interacting with the mapper looking to use your plugin.
Overview
So from the template file, you see:
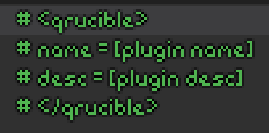
This is the minimal (well, almost, you don't need anything in the header really but this is the minimum that feels good) header section. You fill in the name you want to see appear in the UI and a short description to display.
The truly minimal header looks like this:
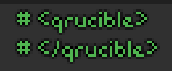
I would never advise using this as your header but the important note here is the first and last lines are distinctive tags. These allow Qrucible to find the header in your Python file and for it not to cause Python errors by hiding it in comments.
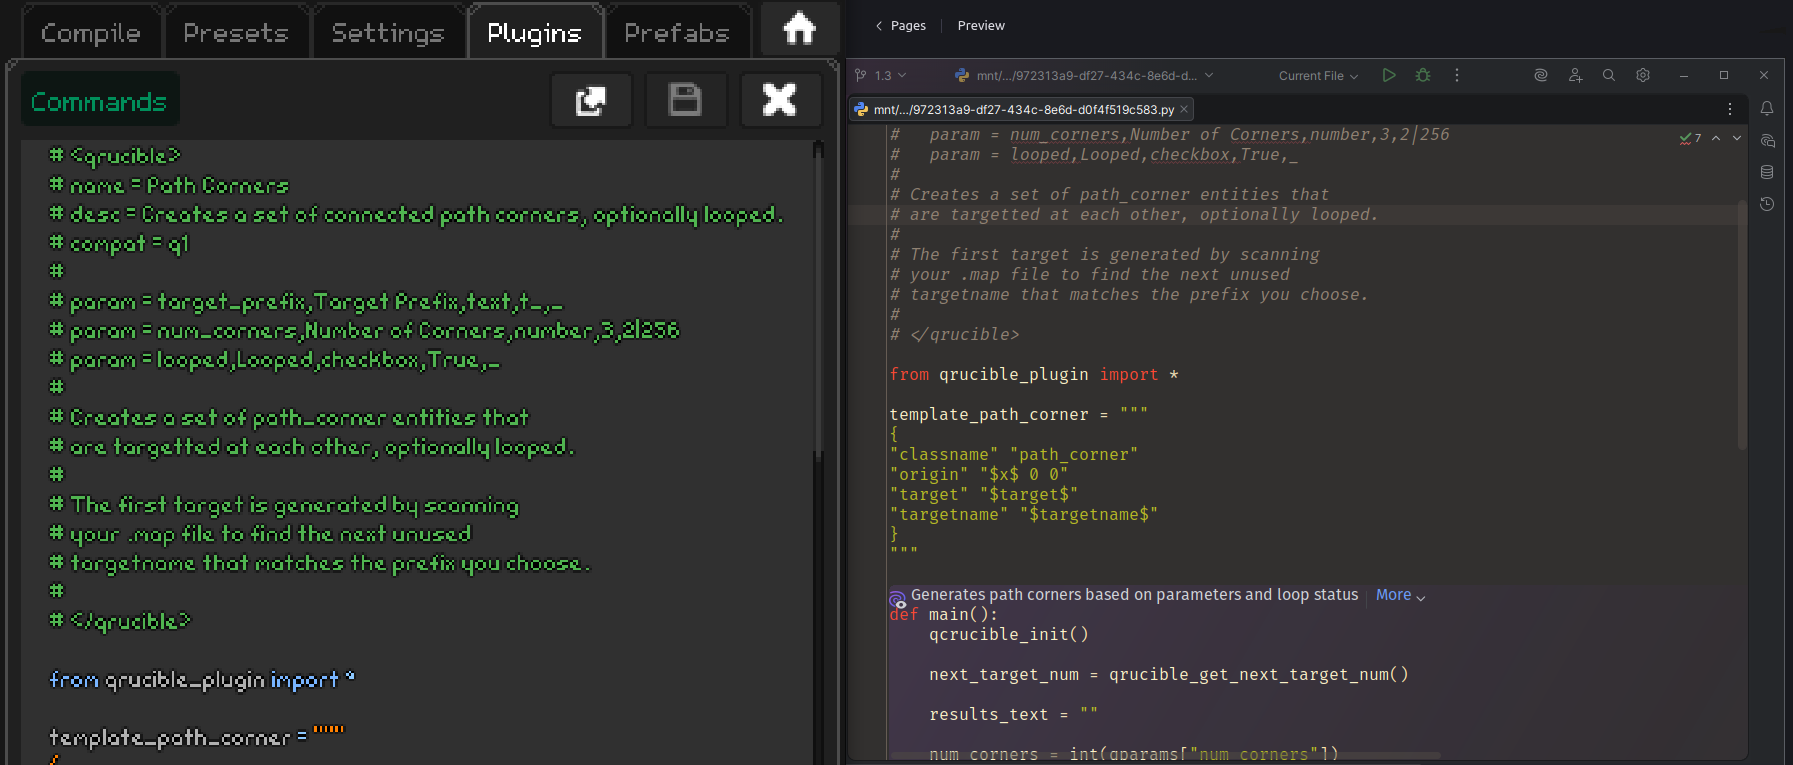
Headers can be much more involved however. Here's the header from the Path Corners plugin:
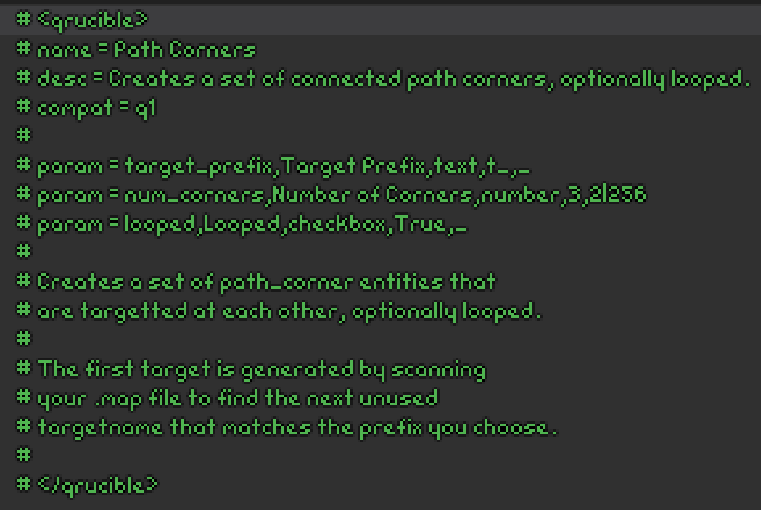
Key/Values
Below is a list of key/values that the header will recognize and use:
name=
A short name that will appear in the dropdown control on the main Plugin tab.
desc=
A longer description to appear below the name in the UI.
compat=
Sometimes you need to be able to limit certain plugins to certain games. Leaving this value blank or not including it all means this plugin will work in all 3 games. If you include "q1", "q2" or "q3" somewhere in the value, it will only show up for those specific games. So if you wrote a plugin that only works with Quake1 and Quake3, the line would read compat = q1 q3
param=
This is the most complicated part of a header but it's one of the most powerful. It allows you to accept input from the mapper and use it when the plugin runs.
How Params Work
Param lines are formatted as follows:
param=[VariableName],[Name],[Type],[DefaultValue],[Data/Constraints]
[Data/Constraints] has a special meaning depending on the [Type], so pay attention below!
[VariableName]
The name you want to refer to this parameter as inside of the Python script.
[Name]
The name you want the mapper to see in the UI.
[Type]
The type of control required to accept this parameter from the mapper. Valid values are:
number
A numeric value. [Data/Constraints] represents the range of allowed values formatted as "min|max"

text
A text value. [Data/Constraints] represents the max length of the accepted value. If you don't care, place an underscore there instead.

checkbox
A boolean value. [Data/Constraints] is unused here, so just use an underscore.

optionbutton
Choosing from a list. [Data/Constraints] holds the set of accepted values as text strings. For example, if you wanted to list all the base Quake1 monsters as an option, you would use this string: army|dog|enforcer

[DefaultValue]
The value that serves as the default for this parameter. If the mapper doesn't have any value cached from the previous time they used this plugin, this value will be autofilled for them. If they use the Reset To Defaults button, this is the value that will be placed in the control for them.
[Data/Constraints]
This is the hardest one to understand because it's contents vary depending on what you choose for Type.
But basically, this holds either data that the UI needs or it holds constraint information like numeric min/max values or max length for text fields.
Using Mapper Params In Python
So once your plugin starts running, how do you get access to those mapper provided parameters?
An easy example is in the Path Corners plugin. It extracts the num_corners and looped parameters and stores them for later use:
num_corners = int(qparams["num_corners"])
is_looped = qparams["looped"] == "true"
It's that qparams map that makes the magic happen. Just be sure to use the right variable names (taken from your params block) and you'll be fine.
ToolTip
Any other text that you include inside the Qrucible header will be gathered up and used as the tooltip for the mapper on the Plugin tab.
So if you have this in your header:
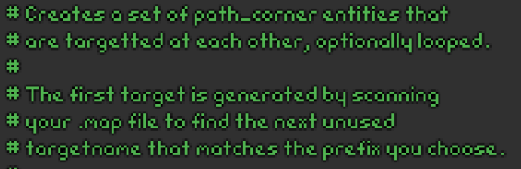
The mapper will see this as the tooltip in the UI:
Advice
Honestly, the best way to get a lock on how Plugins work and are set up would be to duplicate one of the included ones and play around with it. Change some of the parameters, change the Python ... experiment!